
Guide
How to connect the projector to your laptop
Your window on the laptop, the lyrics on the projector. It all comes down to one Windows setting: Extend.

Step by step
- 1
Plug in the projector
With an HDMI cable (or an adapter if the laptop has no HDMI port). Windows sees it as another monitor.
- 2
Press Win+P
On the laptop, press Win+P. The list of display modes opens on the right.
- 3
Choose Extend
Not Duplicate: with Extend, each screen shows something different. Your window stays on the laptop and the projector gets only the lyrics.
- 4
Check in Harmony
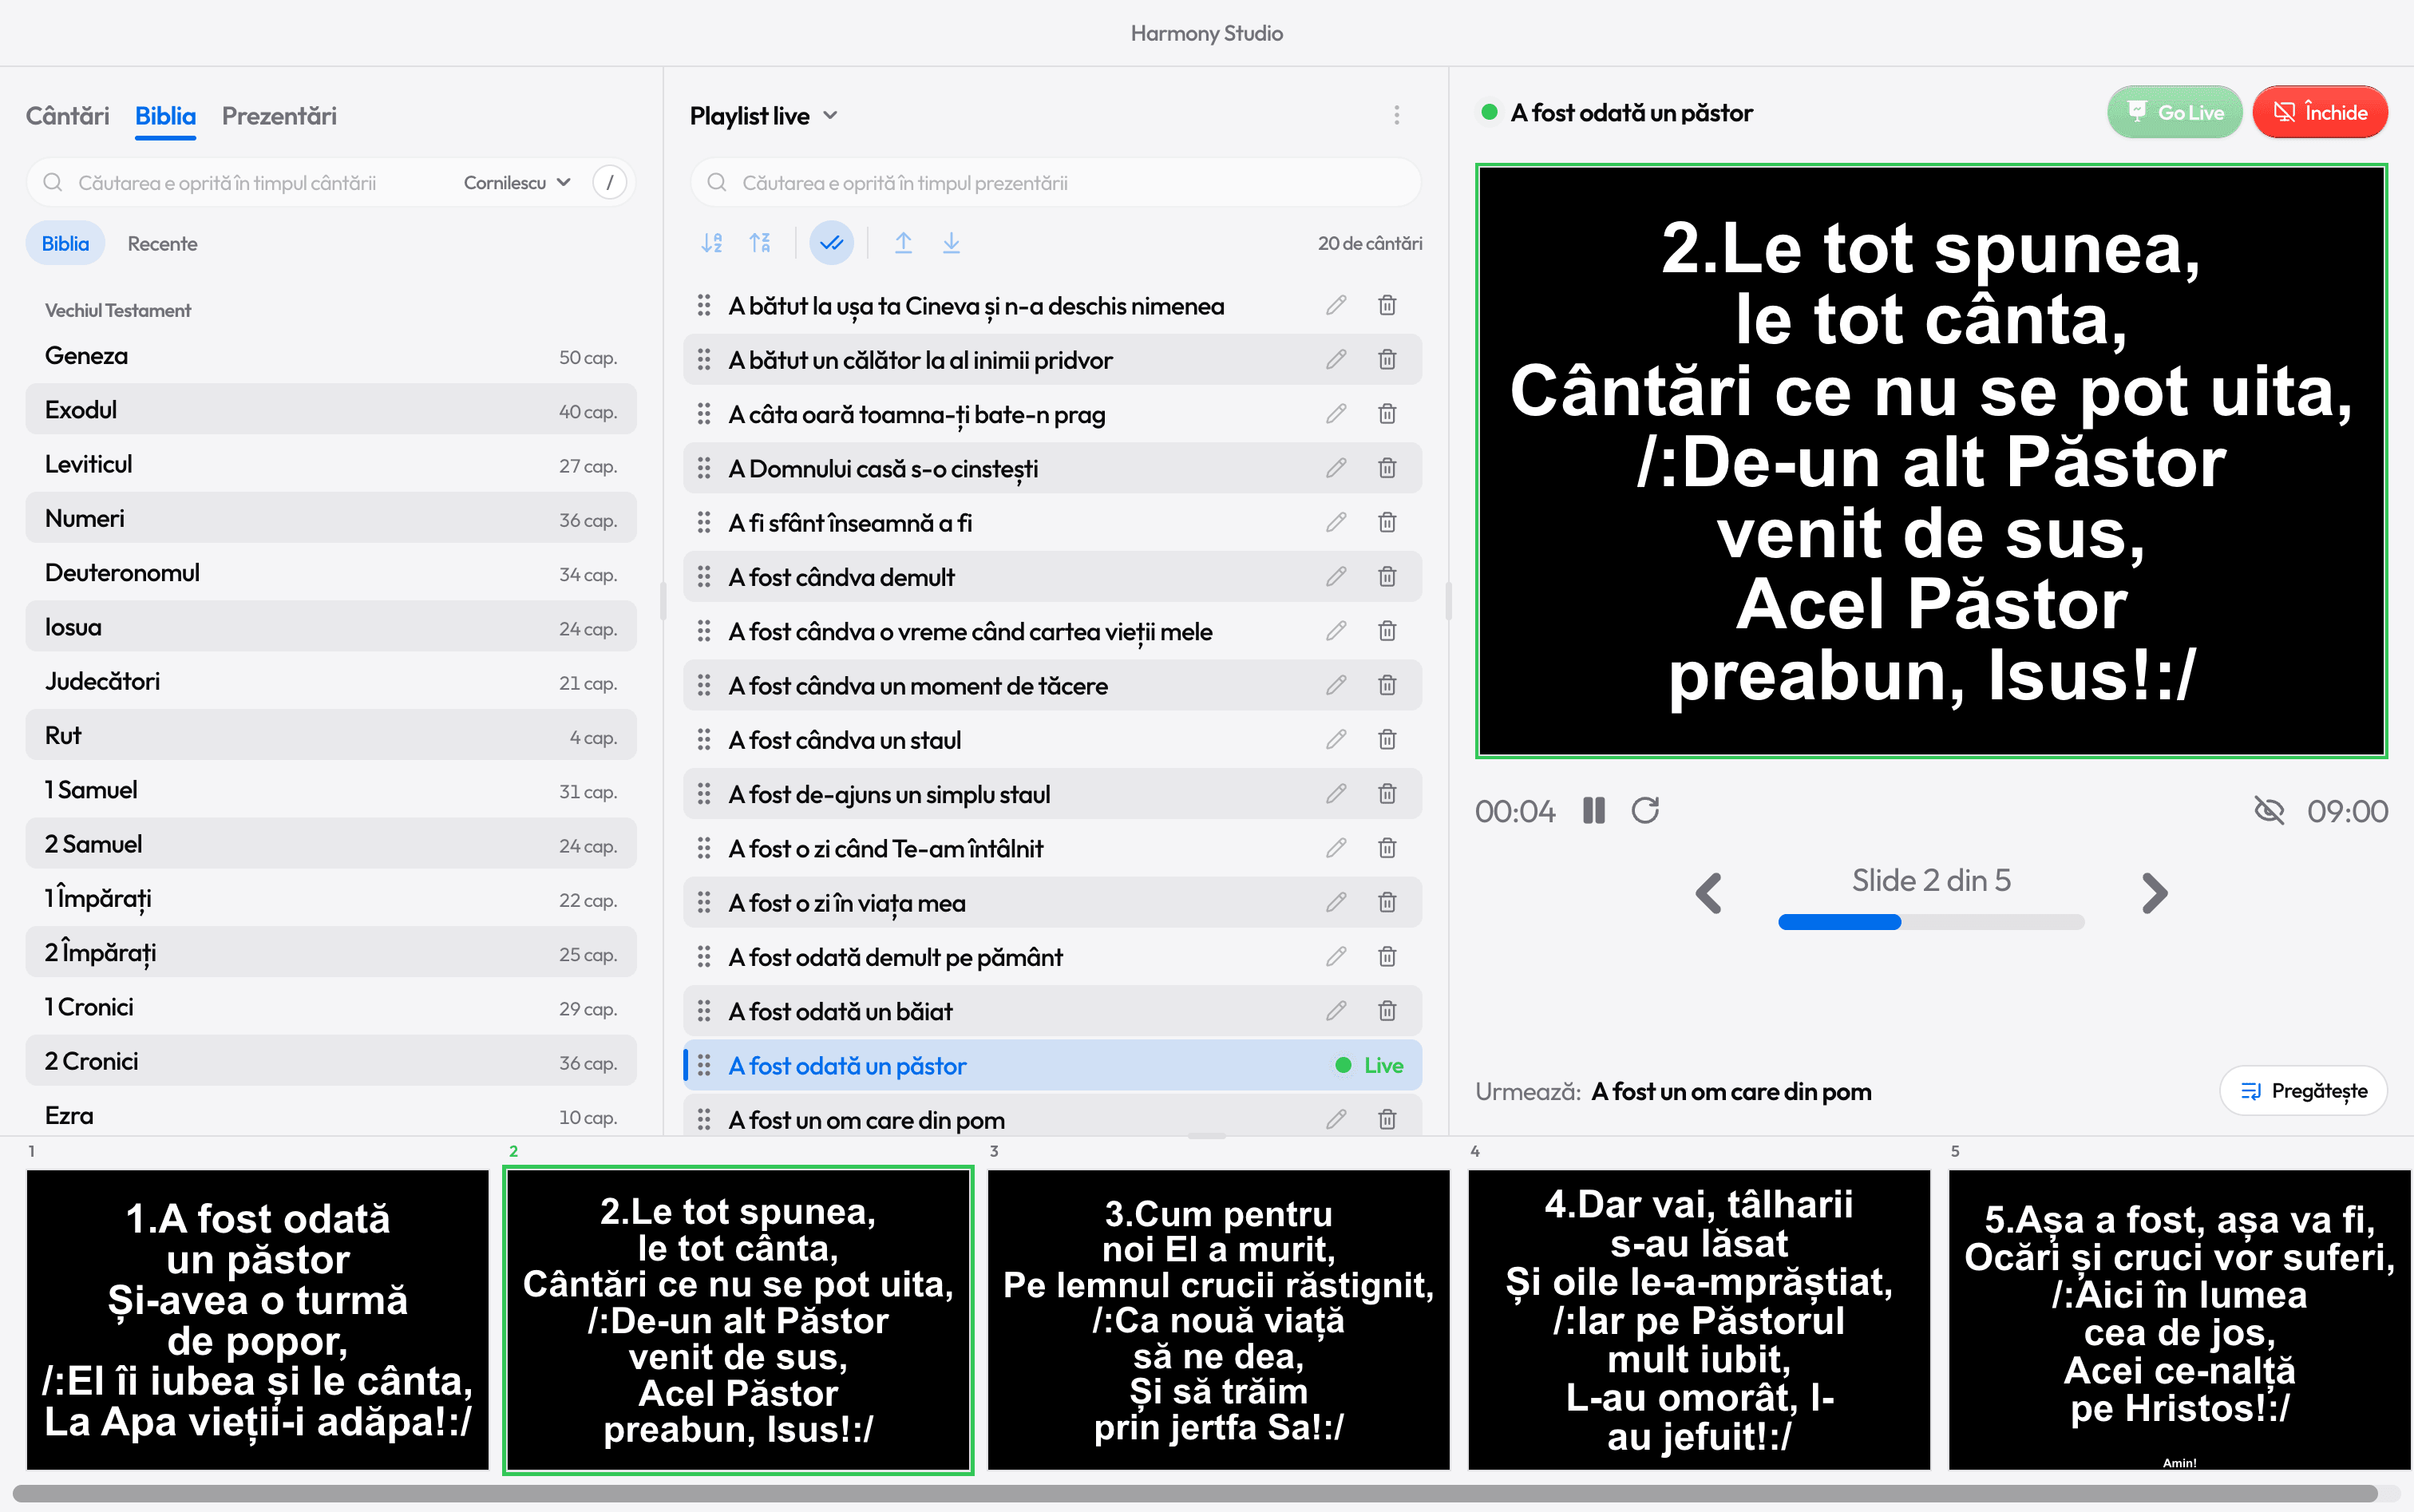
In Settings › Displays: your screen is Control, the projector shows the lyrics. Harmony usually picks them by itself.
- 5
Try it
Pick a song and press Ctrl+Enter. The lyrics appear on the projector; Esc stops the projection.
Your laptop
The projector
Your laptop
The projector
If the projector doesn’t show up
- If the projector isn’t listed in Displays, it’s probably mirroring the laptop. Press Win+P again and choose Extend.
- The icon next to the clock, under the projector panel in Harmony, tells you where the projection goes: the projector’s name or, in orange, a single screen. Click it to open Displays.
- Check the projector’s input source (HDMI 1, HDMI 2) on its remote.
With a single screen
With no projector connected, the projection covers your screen only while something is live. Press Esc to get back to your window. On the projection screen, the arrow keys move the slides and Esc stops it.

Ready for the service?
Get Harmony Studio from the Microsoft Store. It’s free, needs no account, and keeps itself up to date.

- Free
- No account
- Works offline
- Windows 10 and 11